Creating shapes in illustrator is both easy and difficult. The more familiar you are with the program, the easier it is, but it can be a bit daunting to start out. Geometric shapes with straight lines are the easiest.
Keep in mind that there are always several ways to accomplish the same goals in Illustrator. For example, there are a lot of ways to make a square shape, but I'm going to start with the one that takes the least amount of work.
Short Version:
Select a shape tool, and then drag and click.
Long Version:
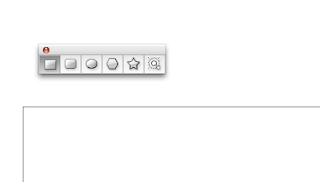
In the tool bar palette, select the rectangle tool button. You can either click it once, and get the rectangle tool, or you can click and hold to see all the available options. These are the shapes that illustrator will "premake" for you.
If you click the right most section, you can "tear off" the palette and move it around your workspace. This is very handy if you are constantly changing the shape you are using, and don't want to keep heading back to the tool bar.
 |
| The tear away palette above the art board |
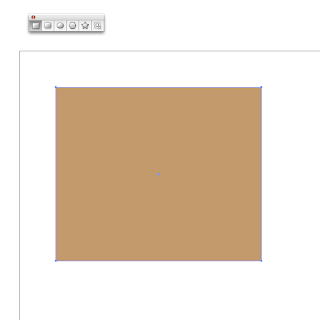
From there, all you have to do is click and drag to create your shape.
 |
| I call it brown square in rhapsody no 7 |
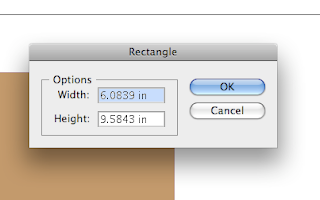
Alternately, you can option click, which will pull up the rectangle dialog box. You can do this with any of the shapes in the shapes palette. The star and polygon shapes will have other options besides just width and height. It's not a bad idea to play around with those options to get a feel for what they do. The dialog box allows you to input exact dimensions.
 |
| Rectangle Dialog Box |
There are some options that control how the shapes are made on the page. They are Snap to Point, and Snap to Grid. Snap to Point is the default setting in Illustrator.
Snap to Point is a system that assigns every object a gravitational orbit, so to speak. When creating new objects, they will snap (or line up) to other objects or guides on the page. This is very apparent when using guides. The whole system is just a way to get things near each other to line up. It's not totally accurate, and there are better tools for it, but it's not a bad starting point.
Additionally, if you hold down the shift key while drawing your shape, you will constrain the proportions. For example, if you hold down the shift key when starting out with the rectangle tool, you'll make a perfect square. If you are resizing a rectangle that already exists, holding down the shift key will enlarge or reduce the rectangle without changing the relative proportion.
Snap to Grid is another feature that will influence how your shapes are formed. I talked in depth about making grids here.
When Snap to Grid is selected, your shapes will automatically snap to whatever the nearest grid line is. This is a helpful feature when you know that your shapes will fall exactly into your grid measurements (for example, if you have an one inch grid set up and you know you won't have any half inch pieces). There are ways around this, but I'll get into that later.
Taking all this into account, you should be ready to make some basic shapes!


No comments:
Post a Comment